Phase 5 - SOAR Deployment – The Hive and Cortex
Last updated by: Syed Mahmood Aleem Huzaifa, Last updated on: 29/06/2025
Document Creation: 17 May 2025. Last Edited: 23 May 2025. Authors: Syed Mahmood Aleem Huzaifa.
Effective Date: 23 May 2025. Expiry Date: 23 May 2026.
Objective
In this phase, we deploy a SOAR (Security Orchestration, Automation, and Response) platform using TheHive 5.2.4 and Cortex 3.1.6, backed by Elasticsearch 7.17.10 and Cassandra 4.1. This architecture enables automated alert enrichment, triage, and structured case management. We'll configure the environment using Docker Compose, connect TheHive to its dependencies, integrate analyzers for Cortex, and validate the setup by submitting a test alert.
Pre-requisite: Docker and Docker Compose ⚠️ If Docker is not already installed, refer to the Docker installation and environment setup steps from MISP Setup. This link provides complete instructions for installing Docker Engine, Docker Compose, and preparing a containerised environment, and was previously followed during the MISP deployment in Phase 3.
No need to reinstall Docker if it is already available on your system.
Step 1
To begin, we create a new working directory to store all files and volumes for our stack. In the terminal, we execute the following: mkdir ~/thehive-cortex && cd ~/thehive-cortex
Once inside, we create a file named docker-compose.yml to define our stack. We can open the file with: nano docker-compose.yml
Copy and paste the configuration below into it. This defines four services — Elasticsearch, Cassandra, The Hive, and Cortex and places them all on a shared Docker network named hive_net.
The content for yml file is mentioned below:
version: "3.7"

services:
  elasticsearch:
    image: docker.elastic.co/elasticsearch/elasticsearch:7.17.10
    environment:
      - discovery.type=single-node
      - xpack.security.enabled=false
      - cluster.name=hive
      - http.host=0.0.0.0
      - ES_JAVA_OPTS=-Xms512m -Xmx512m
    ports:
      - "19200:9200"
    restart: always
    networks:
      - hive_net
    volumes:
      - elasticsearchdata:/usr/share/elasticsearch/data

  cassandra:
    image: cassandra:4.1
    ports:
      - "9042:9042"
    restart: always
    networks:
      - hive_net
    volumes:
      - cassandradata:/var/lib/cassandra

  thehive:
    image: strangebee/thehive:5.2.4
    ports:
      - "9000:9000"
    environment:
      - STORAGE_TYPE=elasticsearch
      - ES_HOST=http://elasticsearch:9200
      - CASSANDRA_CONTACT_POINT=cassandra
      - APP_SECRET=<EnterParamterValue>=
    volumes:
      - thehivedata:/opt/thehive/data
    depends_on:
      - elasticsearch
      - cassandra
    restart: always
    networks:
      - hive_net

  cortex:
    image: thehiveproject/cortex:3.1.6
    privileged: true
    environment:
      - start_docker=1
      - job_directory=/opt/cortex/jobs
      - docker_job_directory=/tmp/cortex-jobs
      - analyzer_urls=/opt/cortex/analyzers
    volumes:
      - /var/run/docker.sock:/var/run/docker.sock
      - /home/YOUR_USERNAME/thehive-cortex/Cortex-Analyzers/analyzers:/opt/cortex/analyzers
      - /tmp/cortex-jobs:/opt/cortex/jobs
      - ./cortex-data:/opt/cortex/data
    ports:
      - "9001:9001"
    restart: always
    networks:
      - hive_net

volumes:
  elasticsearchdata:
  cassandradata:
  thehivedata:

networks:
  hive_net:
    driver: bridge
This Docker Compose file defines a multi-container deployment for a Security Orchestration, Automation, and Response (SOAR) platform using TheHive 5.2.4 and Cortex 3.1.6. The setup also includes dependencies such as Elasticsearch 7.17.10 for indexing and search functionalities, and Cassandra 4.1 for metadata and structured data persistence. All containers are connected via a dedicated Docker bridge network called ‘hive_net’, which ensures isolated inter-container communication.
The first service declared is ‘elasticsearch’, which runs Elasticsearch version 7.17.10 using the official Elastic Docker image. It is configured to operate in single-node mode and without security features enabled, which simplifies setup for local or non-production environments. The container exposes port ‘9200’ on the host as ‘19200’, allowing access to Elasticsearch’s REST API without interfering with other local services that may already use the default port. A volume named ‘elasticsearchdata’ is mounted to persist index data between container restarts. Java options are limited to 512 MB for both minimum and maximum heap size to keep memory usage manageable.
Next is the ‘cassandra’ service, which uses the official Cassandra 4.1 image. It exposes the default port ‘9042’ for communication with TheHive. Data generated by Cassandra is stored persistently through the ‘cassandradata’ volume. Like other services, Cassandra is also attached to the ‘hive_net’ network, enabling direct communication with TheHive and other components. The container is configured to restart automatically to ensure service continuity.
The ‘thehive’ service is configured using the StrangeBee image for TheHive 5.2.4. This container acts as the central interface for incident response and case management. It binds port ‘9000’ to allow external access to TheHive’s web interface. TheHive requires both Elasticsearch and Cassandra, and it is explicitly configured to use them through the ‘ES_HOST’ and ‘CASSANDRA_CONTACT_POINT’ environment variables. The ‘APP_SECRET’ variable defines the application secret key used for secure session management. Its data is stored in a persistent volume ‘thehivedata’ to retain settings and indexed cases. The ‘depends_on’ directive ensures that Elasticsearch and Cassandra containers are started before TheHive attempts to initialize. This container also joins the same ‘hive_net’ network.
The last service, ‘cortex’, is configured with the official image for Cortex 3.1.6. Cortex is responsible for executing analyzers and responders on observables provided by TheHive. It is granted ‘privileged: true’ access and mounts the host’s Docker socket (‘/var/run/docker.sock’) so that analyzers that require Docker execution can run seamlessly. The job execution path ‘/opt/cortex/jobs’ is also mounted to ‘/tmp/cortex-jobs’ for data exchange. Analyzers are expected to be available in the host directory ‘/home/YOUR_USERNAME/thehive-cortex/Cortex-Analyzers/analyzers’, which is mounted into the container at ‘/opt/cortex/analyzers’. Cortex listens on port ‘9001’, and the container is set to restart automatically in case of failures. It too is connected to the shared ‘hive_net’ network.
Finally, the Compose file defines three named volumes—’elasticsearchdata’, ‘cassandradata’, and ‘thehivedata’—to ensure that each core service retains its persistent state across container restarts. The network ‘hive_net’ is defined using the Docker bridge driver, providing an isolated network space where all services can communicate without exposing internal ports unnecessarily to the host system. This architecture is well-suited for development, testing, or lab environments focused on cyber threat analysis and incident response automation.
Save and exit the file. We then start the containers by running: docker compose up -d
Docker now pulls the required images and initialises the services. Once that completes, we verify the containers are running: docker ps
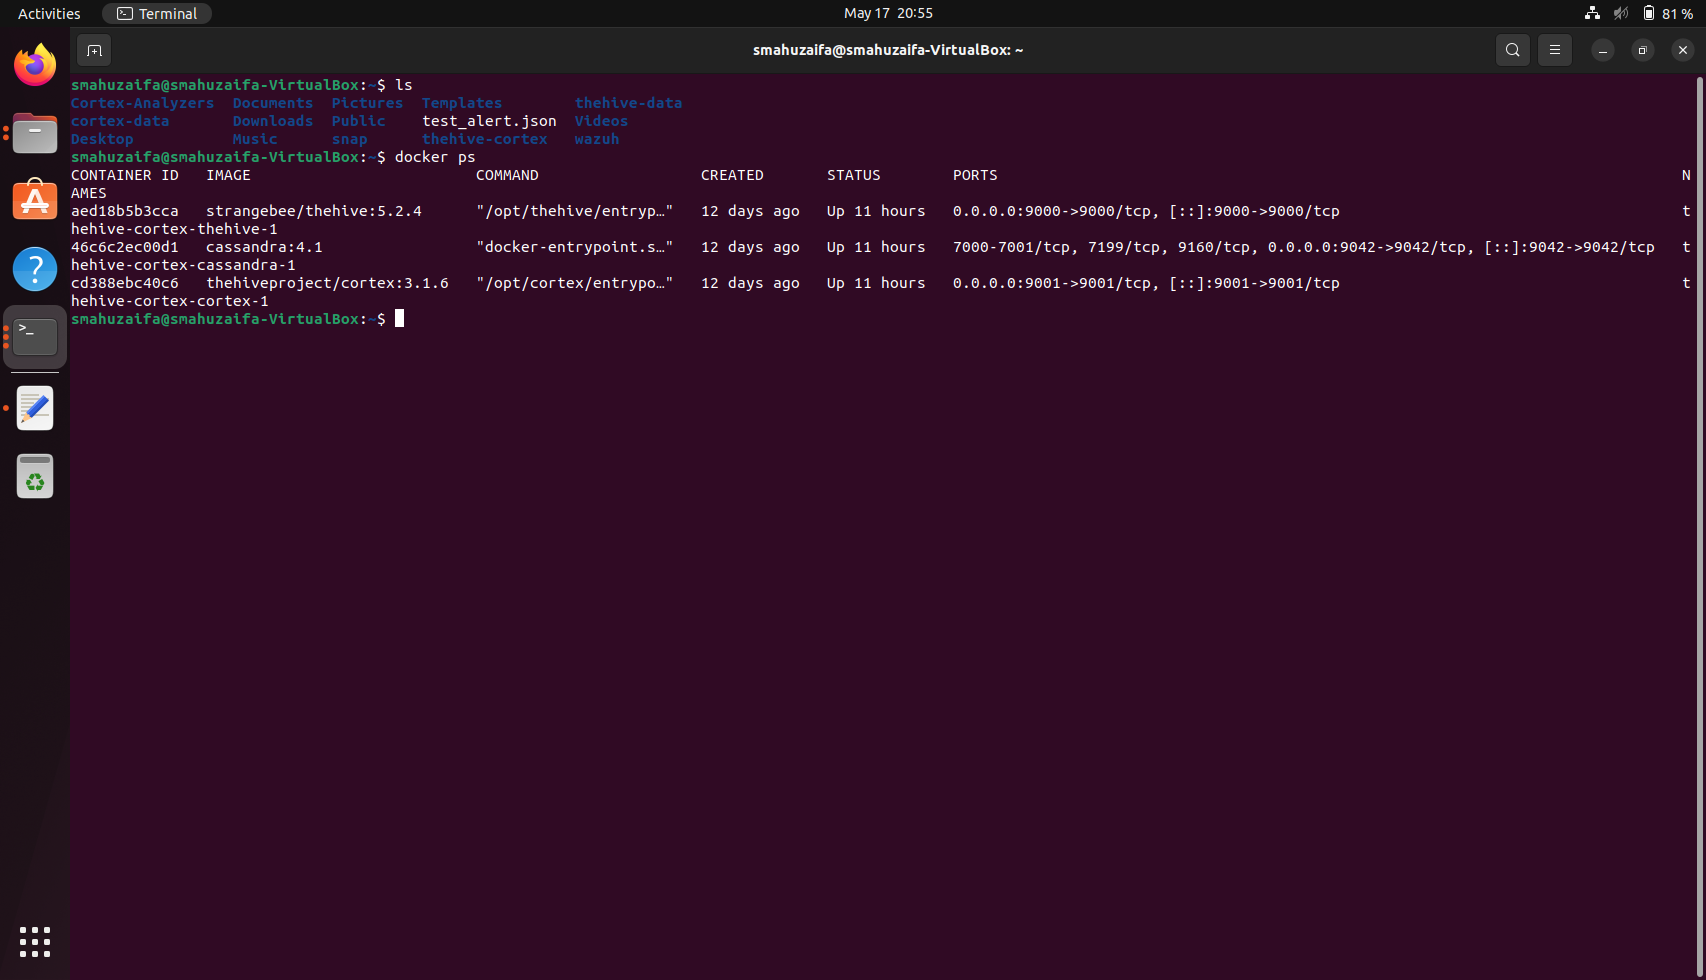
With all core services—TheHive, Cortex, and Cassandra—up and running in containers (and TheHive internally using Lucene for storage), we can confirm that our SOAR platform is operational. TheHive is accessible at http://localhost:9000 and Cortex at http://localhost:9001.
If this is the first time accessing TheHive, we are prompted to create an admin account through the web interface.
Step 2
With the UI ready, we proceed to configure Cortex analyzer. If we haven’t already cloned the official analyser set, we do so now using the following command from the host system:
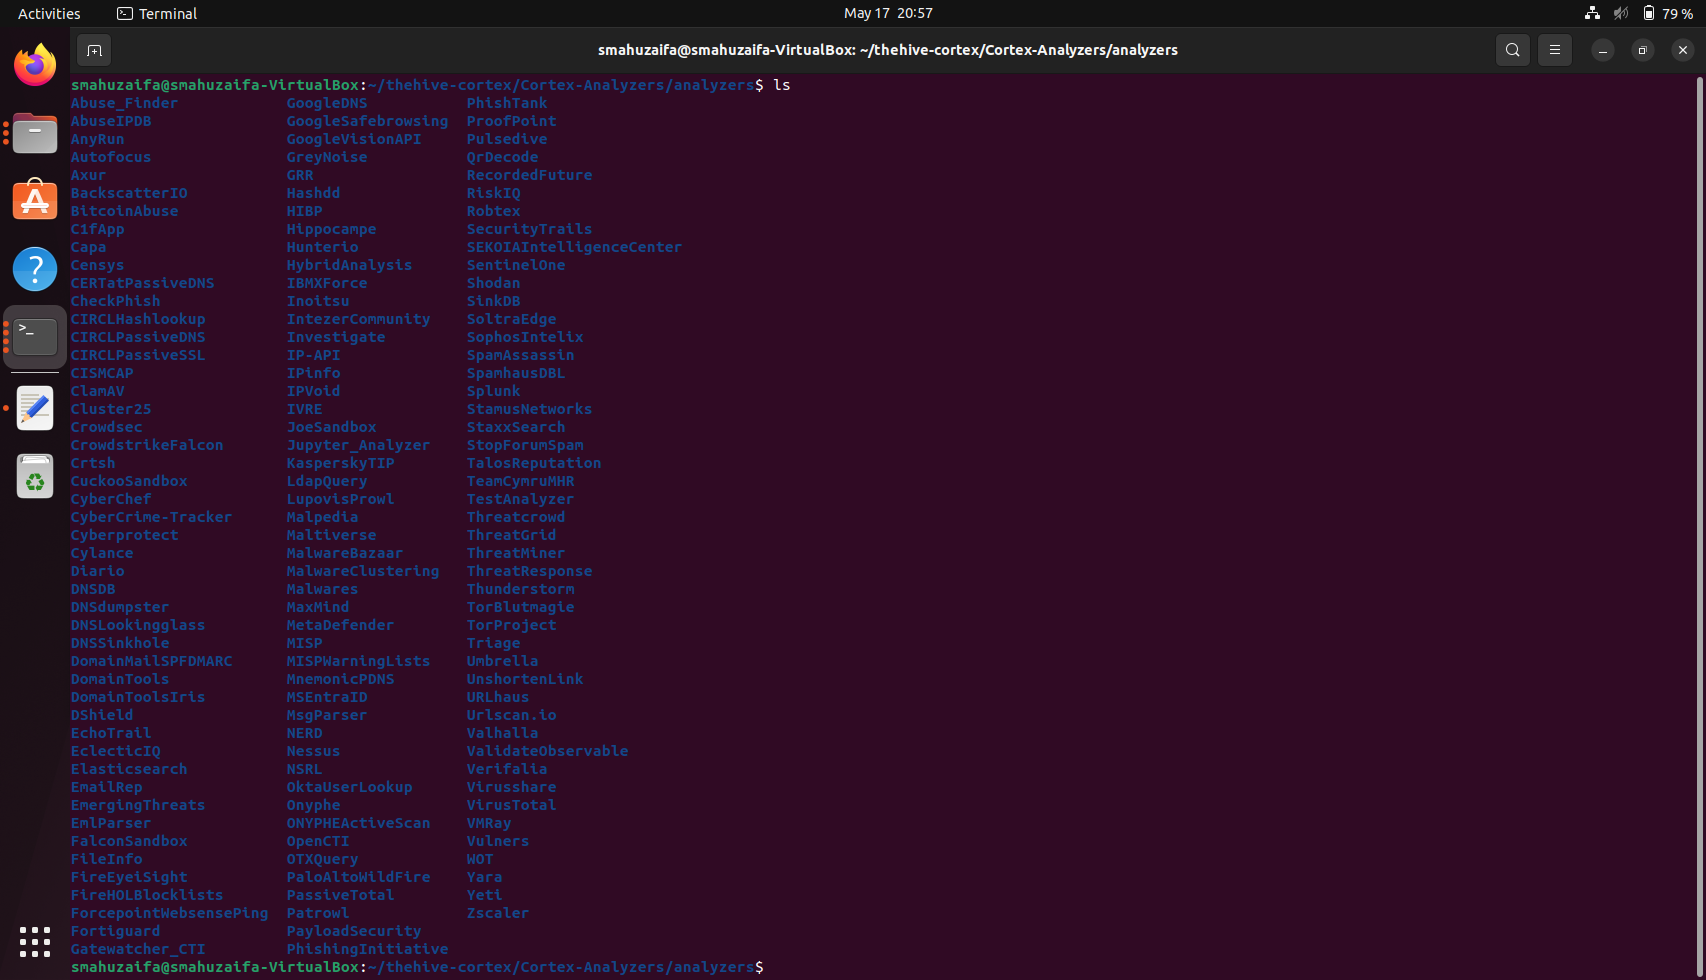
git clone https://github.com/TheHive-Project/Cortex-Analyzers.git
Once the analyzer are downloaded, you will see all of them as shown in the screenshot below.
Step 3
Once cloned, we enter the Cortex container in order to install all required dependencies for the analyzer. The command below opens a bash shell inside the running Cortex container:
docker exec -it thehive-cortex-cortex-1 bash
Inside the container, we switch to the directory where the analyzer were mounted or copied. If mounted properly during container setup (as per your Docker Compose configuration), we navigate to: cd /opt/cortex/analyzers
To install the Python dependencies required by the analyzer, we run: for i in $(find . -name "requirements.txt"); do pip3 install -r $i; done
This installs all packages across different analyser folders. Once complete, we exit the container: exit
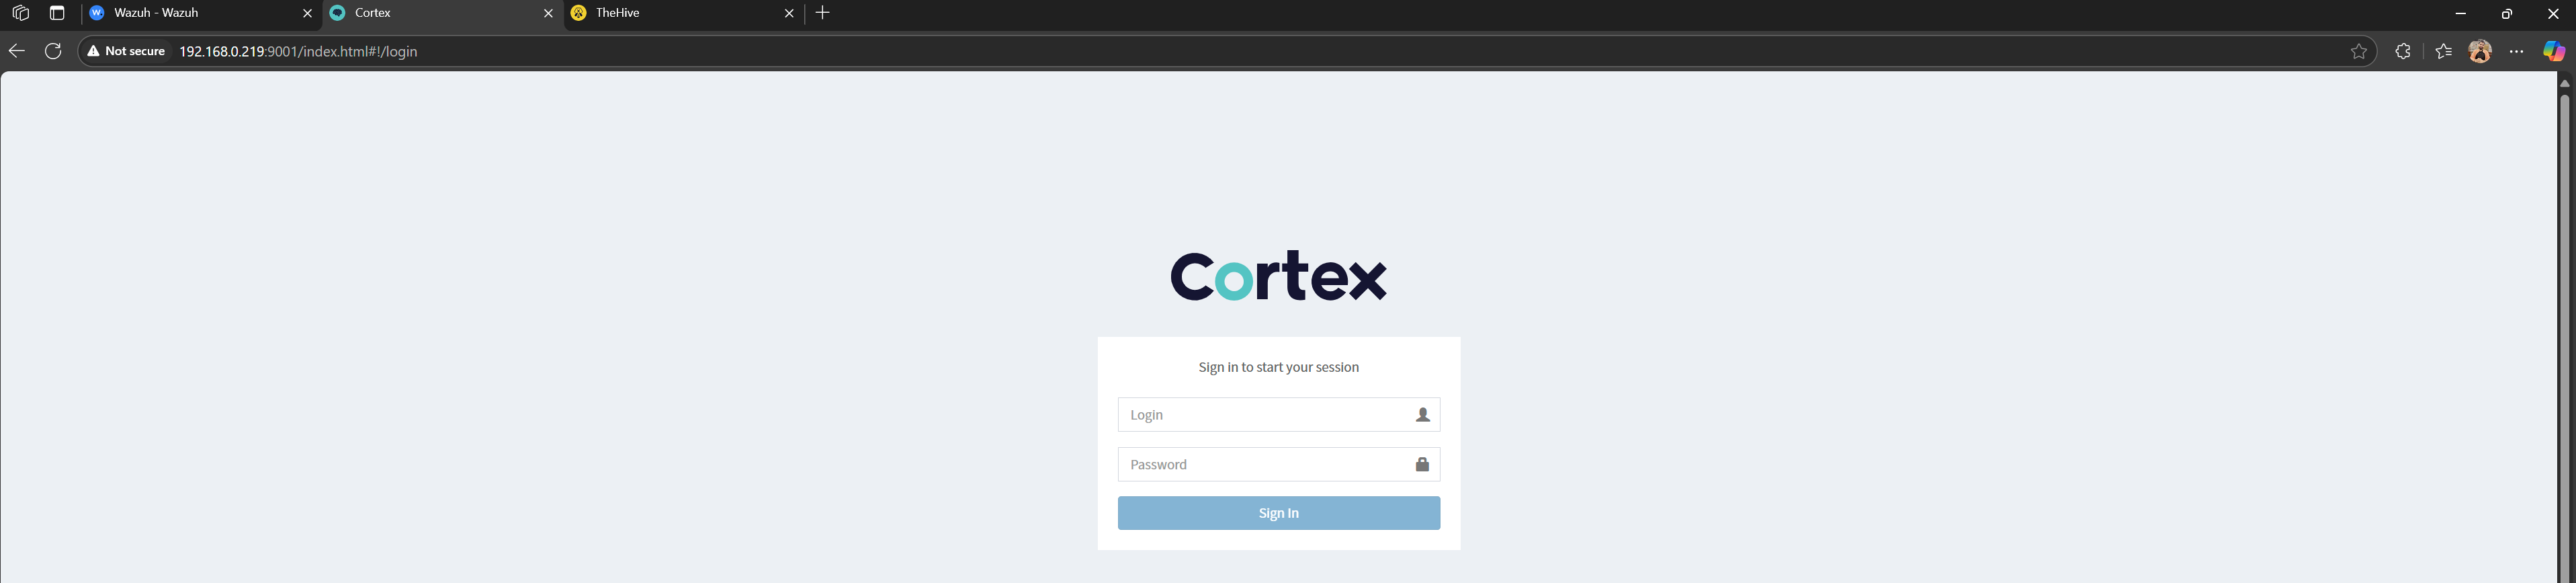
Step 4: Access the Cortex Web Interface
Open your web browser and go to: http://localhost:9001
First time users would be asked to create an account which is straight forward.
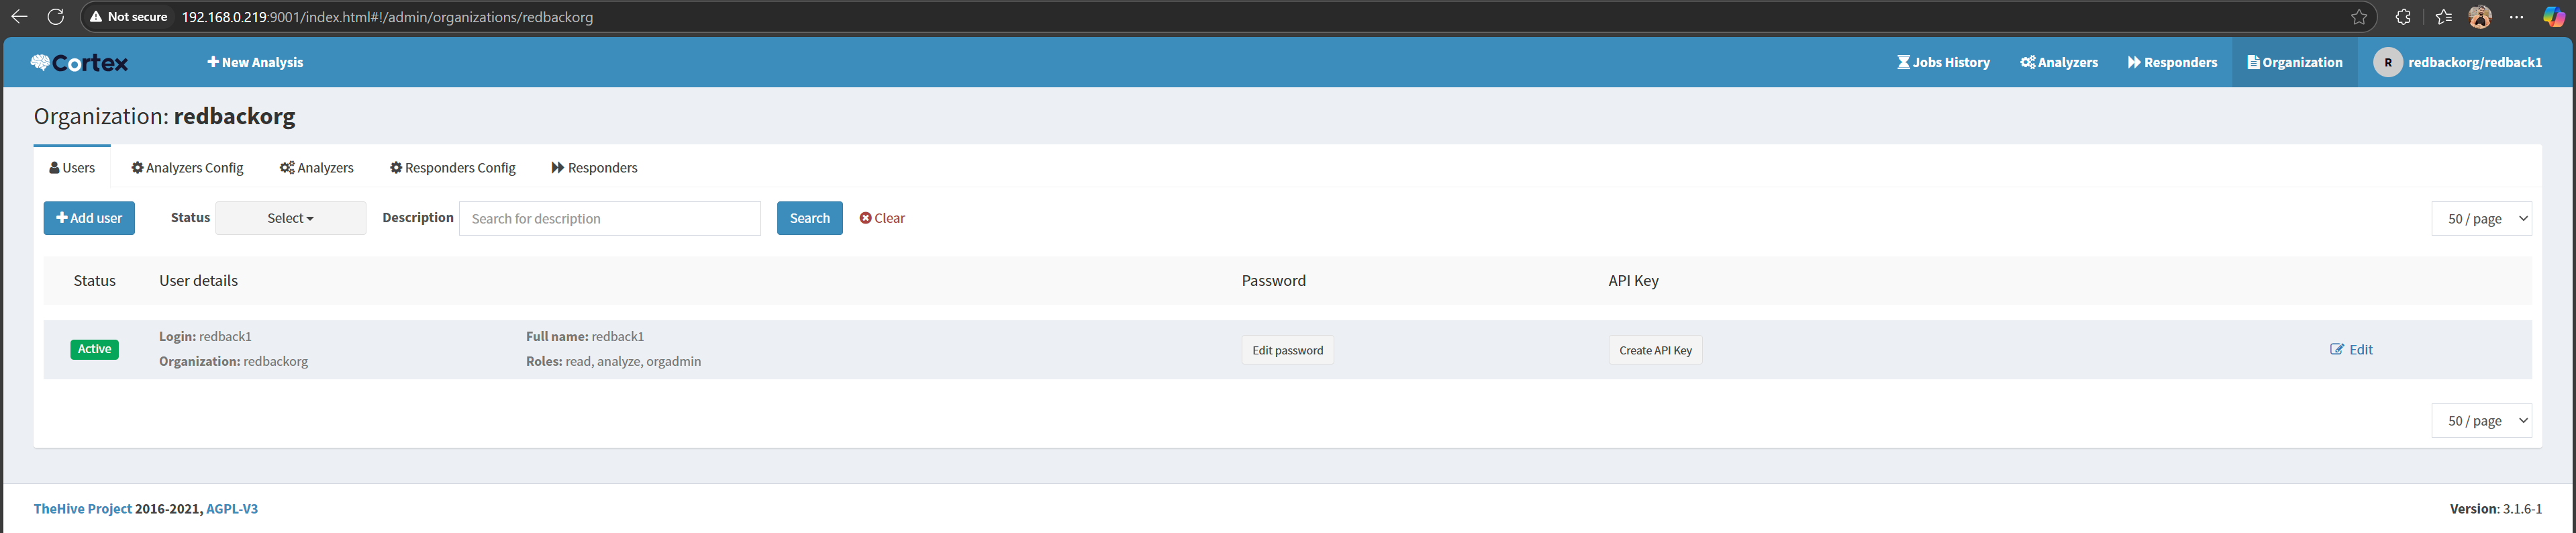
Once logged in you should see all the organisations
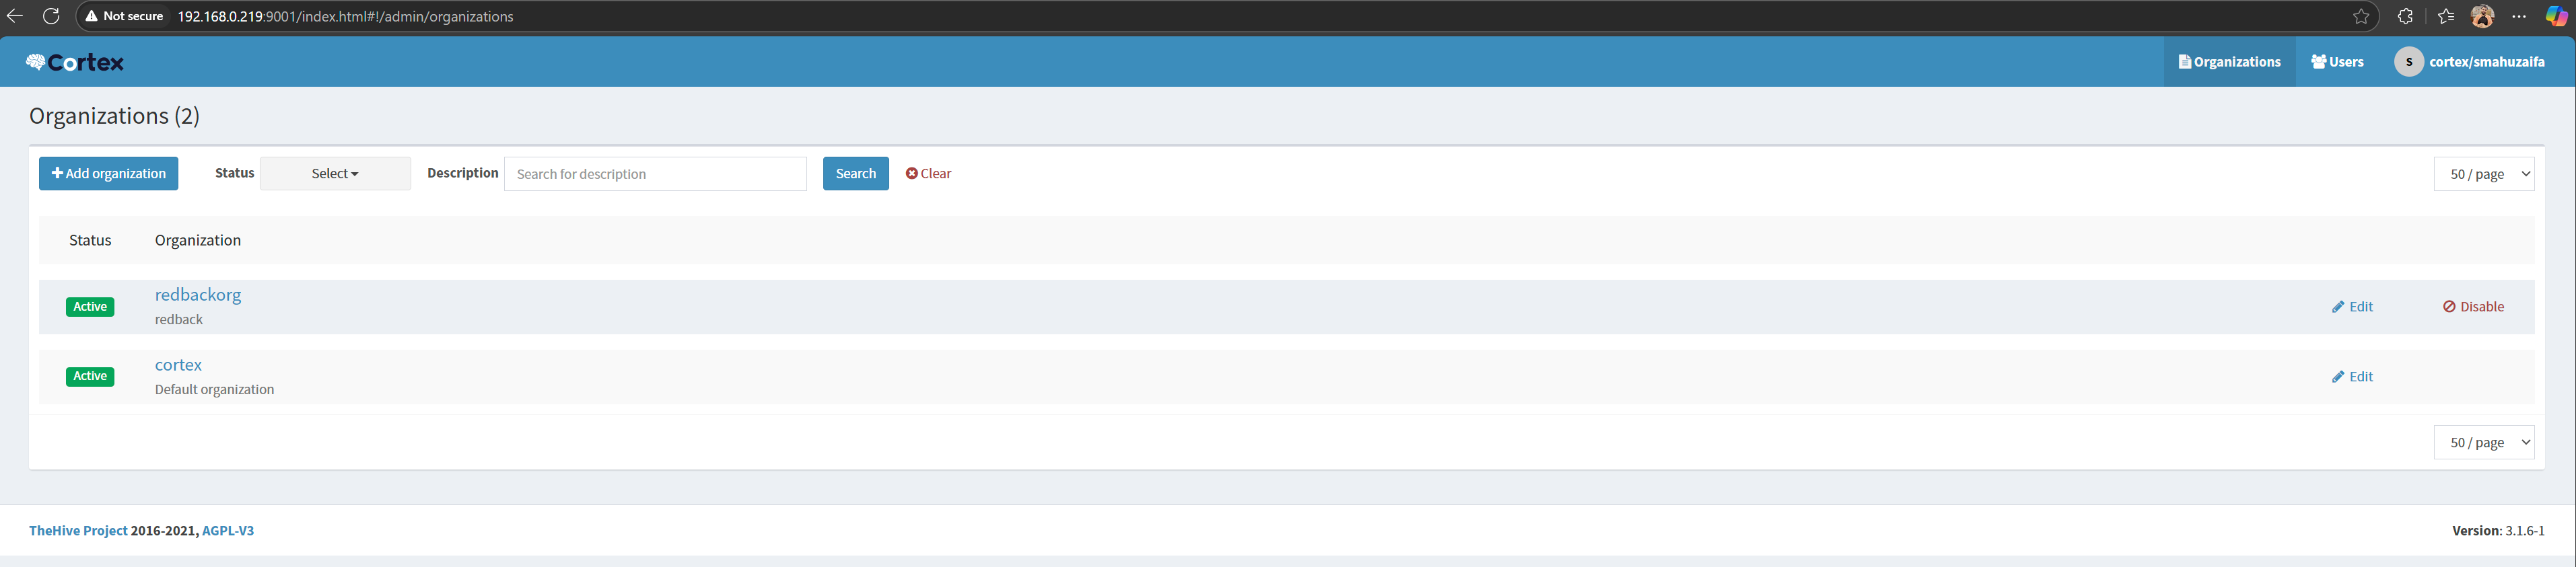
Create a new organisation and a user with admin rights for the newly created organisation, and log in with that user.
Once logged in, click on organisation on the top right
Under the Analyzers tab within the Cortex web interface, we begin by clicking on the "Refresh Analyzers" button. This action scans the mounted analyzer directory inside the Cortex container and loads the available analyzers into the Cortex system. These analyzers are essentially individual scripts or modules that allow Cortex to interact with various external data sources and services, such as MISP, VirusTotal, Shodan, or AbuseIPDB. By refreshing, we ensure that Cortex is aware of all the analyzers currently present on disk and ready to be configured or used.
Once the refresh is complete, a list of available analyzers will be displayed in the interface. Each entry typically shows the name of the analyzer, its version, and a short description of what it does. To proceed, we select an analyzer we wish to use—for instance, the MISP analyzer—and click on "Enable", depending on the current state of that analyzer.
During this installation or configuration step, some analyzers will prompt for additional setup, particularly those that require access to external threat intelligence services. These analyzers often need an API key to function. An API key is a unique identifier that authenticates Cortex with the external service. For example, the MISP analyzer requires the MISP API key and the URL of the MISP instance to which Cortex will connect. These keys are usually generated from the corresponding service’s user account settings or administrative interface and can be easily copied into Cortex during the analyzer setup.
In the example below, we have configured the MISP analyzer. This means we have already provided the Cortex system with the necessary URL to our MISP instance (e.g., https://192.168.0.211) and an API key generated from the MISP web interface. As a result, this analyzer is now enabled and ready to be used for automatic enrichment of observables. When a case or alert contains indicators such as IP addresses, domain names, or hashes, this analyzer can be triggered to check MISP’s threat intelligence database and return any matching information or threat context.
Once configured, these analyzers can be invoked manually by analysts or automatically through Cortex’s integration with TheHive, enabling seamless enrichment of cases during triage and investigation.

Working with TheHive will be continued in a later phase where we will explore how to use it effectively for case management, incident triage, and collaborative analysis. TheHive is an open-source Security Incident Response Platform (SIRP) designed to help security teams handle alerts, manage investigations, and collaborate on security incidents in a structured and auditable manner. It allows the creation of detailed cases from alerts generated by external systems such as Wazuh, MISP, or Cortex. Each case can include tasks, observables, and linked events, making it ideal for documenting forensic analysis, tracking investigation progress, and standardising incident response procedures across teams. By integrating it with Cortex, TheHive becomes capable of enriching observables automatically, running analyzers, and orchestrating responses, all within a single unified platform that enhances operational efficiency and threat-handling maturity.